At Glowskinhub.com, we believe beauty isn’t just a look—it’s a feeling

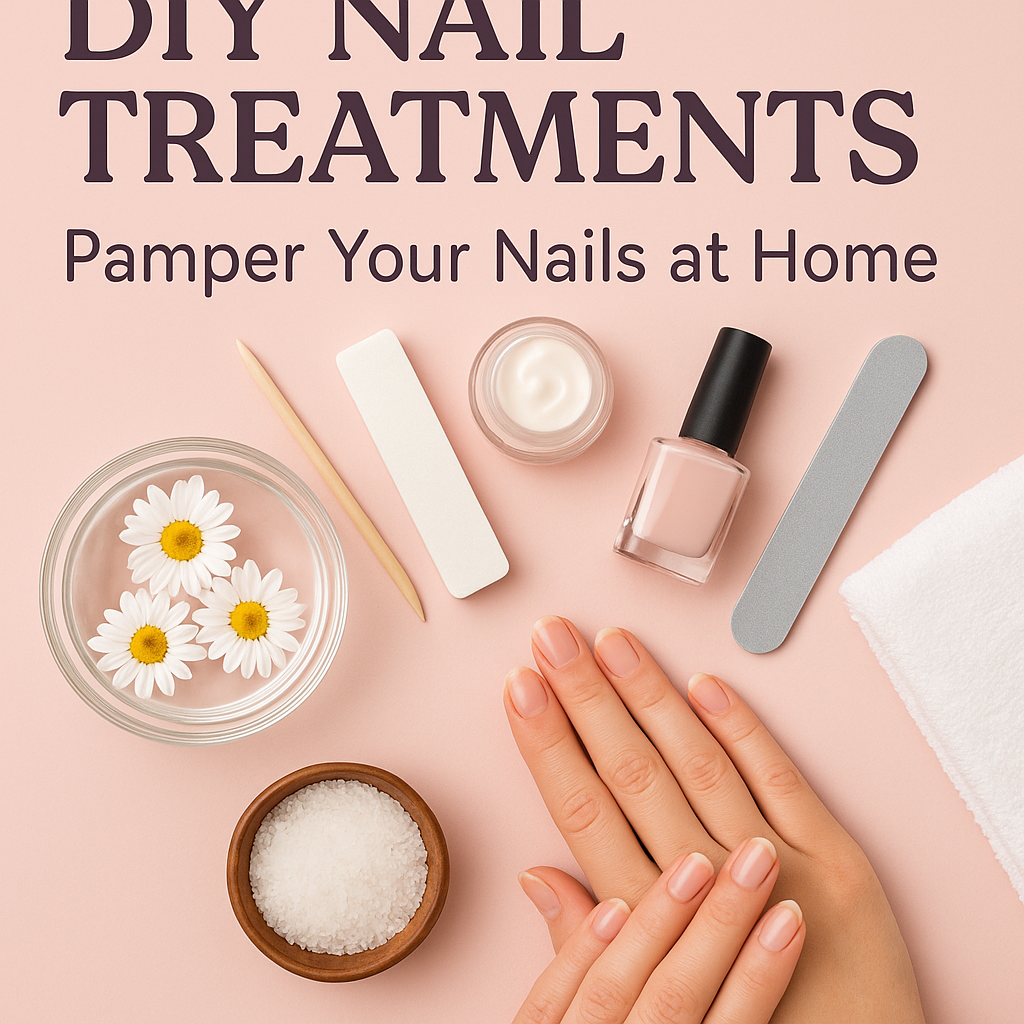
DIY Nail Treatments: Pamper Your Nails at Home

When it comes to self-care, most of us think of skincare routines, relaxing baths, or maybe even a good book. However, one often-overlooked aspect of self-care is Nail Care. Your nails can say a lot about your overall health, and treating them well can be a beautiful way to express your personality. Fortunately, you don’t need to step out of your home to give yourself a luxurious nail treatment. Here’s a comprehensive guide to pampering your nails at home!
Why Pamper Your Nails?
Nail Care is an essential part of personal grooming that goes beyond just aesthetics. Healthy nails can boost your confidence and reflect your commitment to personal hygiene. Moreover, taking care of your nails can prevent common problems such as brittleness, peeling, and fungal infections. With a few simple DIY treatments, you can enhance the health and appearance of your nails right from the comfort of your home.
Essential Tools for Nail Care
Before you dive into DIY nail treatments, it’s essential to have the right tools. Here’s a basic toolkit you should consider:
- Nail Clippers: For trimming your nails to the desired length.
- Nail File and Buffer: To shape your nails and smooth out any rough edges.
- Cuticle Pusher: To gently push back your cuticles, helping maintain a neat appearance.
- Cotton Balls or Pads: Useful for any nail polish removal or cleaning up after treatments.
- Bowl: For soaking your nails during various treatments.
- moisturizer or cuticle oil: To hydrate your nails and Skin.
DIY Nail Treatments
1. Soothing Nail Soak
A nail soak is an excellent way to prep your nails before any treatments. It hydrates the cuticles and softens the nails, making them easier to manage.
Ingredients:
- Warm water
- 1-2 tablespoons of olive oil
- A few drops of lemon juice or essential oil (like lavender or tea tree)
Instructions:
- Combine warm water, olive oil, and lemon juice in a bowl.
- Soak your nails for 10-15 minutes.
- Gently wipe off and moisturize afterward.
2. Nourishing Cuticle Cream
Keeping your cuticles healthy is key to stronger nails. This homemade cream will condition your cuticles and promote nail growth.
Ingredients:
- 1 tablespoon of shea butter or coconut oil
- 1 teaspoon of almond oil
- A few drops of your favorite essential oil
Instructions:
- Melt shea butter or coconut oil until liquid.
- Stir in almond oil and essential oil.
- Allow it to cool slightly and apply a small amount to your cuticles.
- Massage gently and leave it on for optimal hydration.
3. Strengthening Nail Mask
If you find that your nails tend to break easily, this strengthening mask can help.
Ingredients:
- 2 tablespoons of coconut oil
- 1 teaspoon of honey
- A pinch of sea salt
Instructions:
- Mix all ingredients in a small bowl.
- Apply the mixture onto your nails and massage for a few minutes.
- Leave it on for about 30 minutes and rinse with lukewarm water.
4. Exfoliating Scrub for Hands and Nails
Exfoliating helps in removing dead Skin cells around your nails, making them look fresh and clean.
Ingredients:
- 1 tablespoon of sugar (granulated or brown)
- 1 tablespoon of olive oil
- A few drops of lemon juice
Instructions:
- Combine the sugar, olive oil, and lemon juice in a bowl.
- Gently scrub the mixture onto your hands and nails in circular motions.
- Rinse off with warm water and pat dry.
5. nail polish Remover Alternative
Commercial nail polish removers can be quite harsh. This natural alternative is safer for your nails and Skin.
Ingredients:
- 1 cup of white vinegar
- 1 cup of lemon juice
Instructions:
- Mix equal parts of vinegar and lemon juice in a bowl.
- Soak a cotton ball in the mixture and press it against the nail for a few seconds.
- Wipe off the polish gently, repeating as necessary.
6. DIY Nail Strengthener
A simple DIY nail strengthener can be made using common household ingredients.
Ingredients:
- 2 teaspoons of olive oil
- 1 teaspoon of lemon juice
Instructions:
- Mix olive oil and lemon juice in a small container.
- Apply the mixture to your nails and massage for a couple of minutes.
- Leave it on for 30 minutes before rinsing it off.
Conclusion
Pampering your nails doesn’t have to be an expensive outing at a salon. With these DIY treatments, you can achieve salon-quality care right at home. Regular care not only enhances the aesthetics of your nails but contributes to their overall health, allowing you to express your unique style while ensuring that your nails remain strong and vibrant.
FAQs
1. How often should I do these treatments?
- It depends on your nail health and personal preference. A weekly routine of cleaning, moisturizing, and nourishing is typically beneficial.
2. Can these treatments help with brittle nails?
- Yes! Many of the treatments, especially strengthening masks and oils, are designed to nourish and fortify brittle nails.
3. Are there any side effects to DIY nail treatments?
- Generally, these Natural remedies are safe for most people; however, perform a patch test if you have sensitive Skin or allergies, especially with essential oils.
4. How can I maintain my nails between treatments?
- Keep your nails trimmed, avoid biting them, use gloves while doing household chores, and maintain a balanced diet rich in vitamins and minerals.
5. Is it necessary to use a base coat before applying nail polish?
- Yes! A base coat helps protect your natural nails from staining and provides a smooth surface for the polish.
Incorporating these simple DIY nail treatments into your self-care routine will not only make your nails look great but also keep them healthy. Enjoy your pampering sessions, and remember, beautiful nails start at home!